How to Fix a Water-Damaged Ceiling Safely
A practical homeowner guide to stopping the source, drying the area, and knowing when a ceiling repair is not a do-it-yourself job.
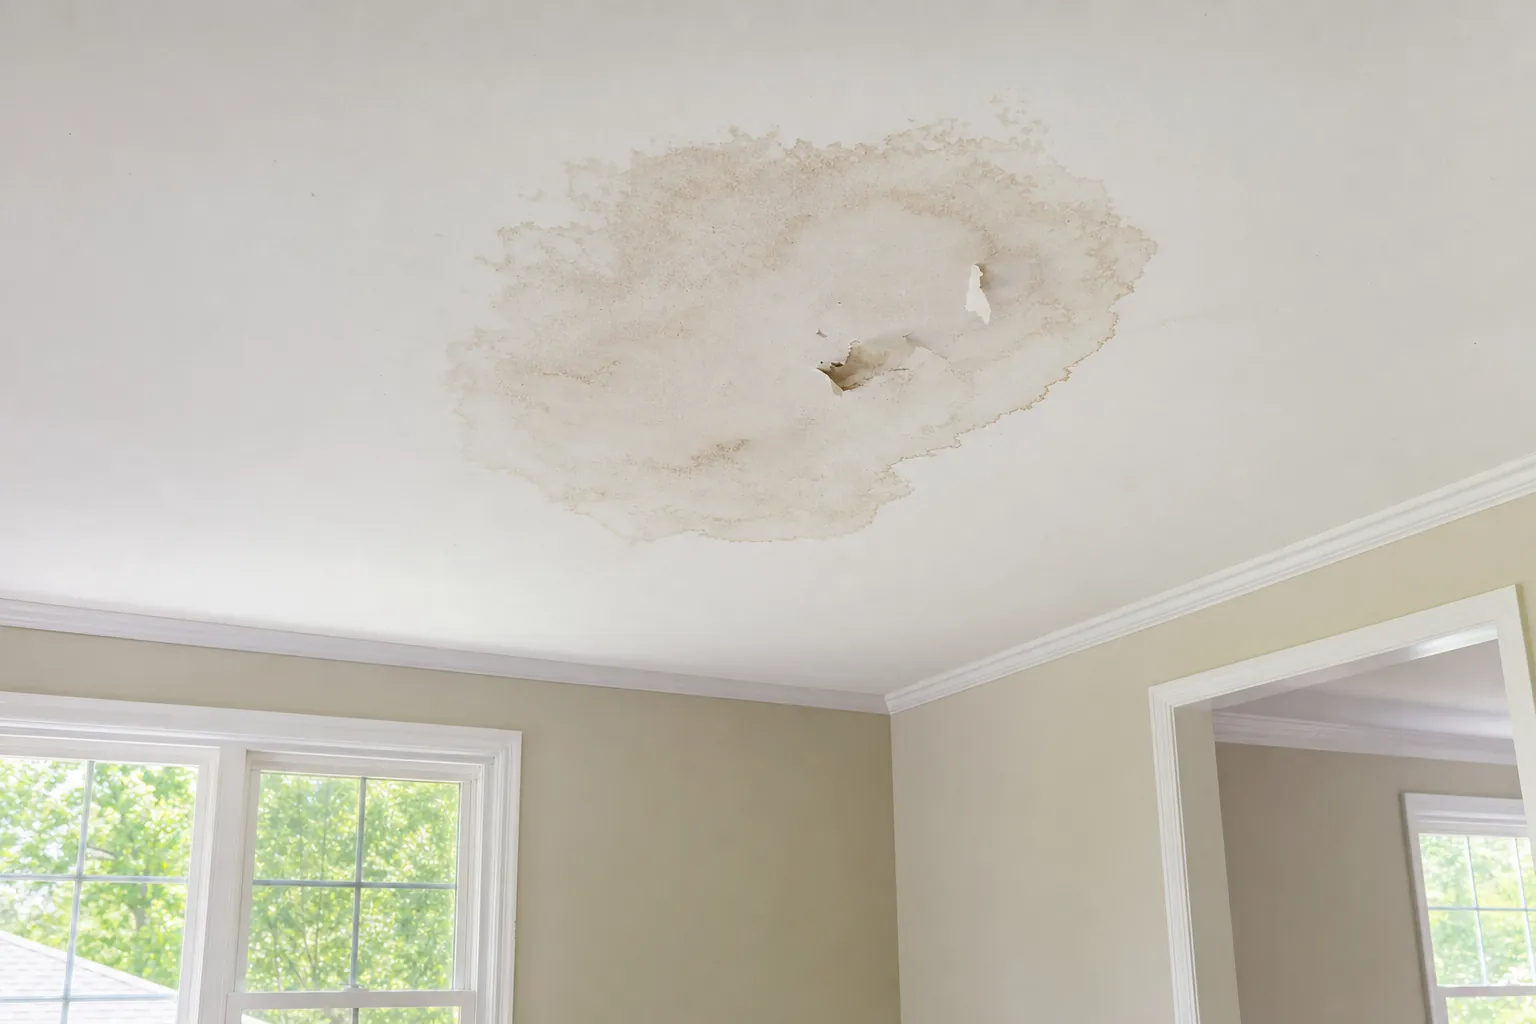
A water stain on the ceiling is easy to dismiss when it looks small. The problem is that a stain is usually evidence of a leak that happened somewhere else, sometimes above or beside the visible mark. The safest repair sequence is simple: make the area safe, stop the source, document what happened, dry the materials thoroughly, and only then decide whether a cosmetic repair makes sense. Skipping any of those steps can leave water, mold, or compromised drywall behind a fresh coat of paint.
1. Start With Safety, Not the Stain
Do not stand beneath a ceiling that is sagging, bulging, actively dripping, or cracking. Wet drywall can become heavy and unstable. Keep children and pets out of the room, move belongings only if it is safe, and place a container under a steady drip without pushing on the ceiling.
Water around a light fixture, ceiling fan, electrical outlet, or appliance raises the risk. Ready.gov advises people not to touch wet electrical equipment or equipment while standing in water. If you can reach the breaker panel without entering a wet area, switch off power to the affected room. Otherwise, leave it alone and get qualified help.
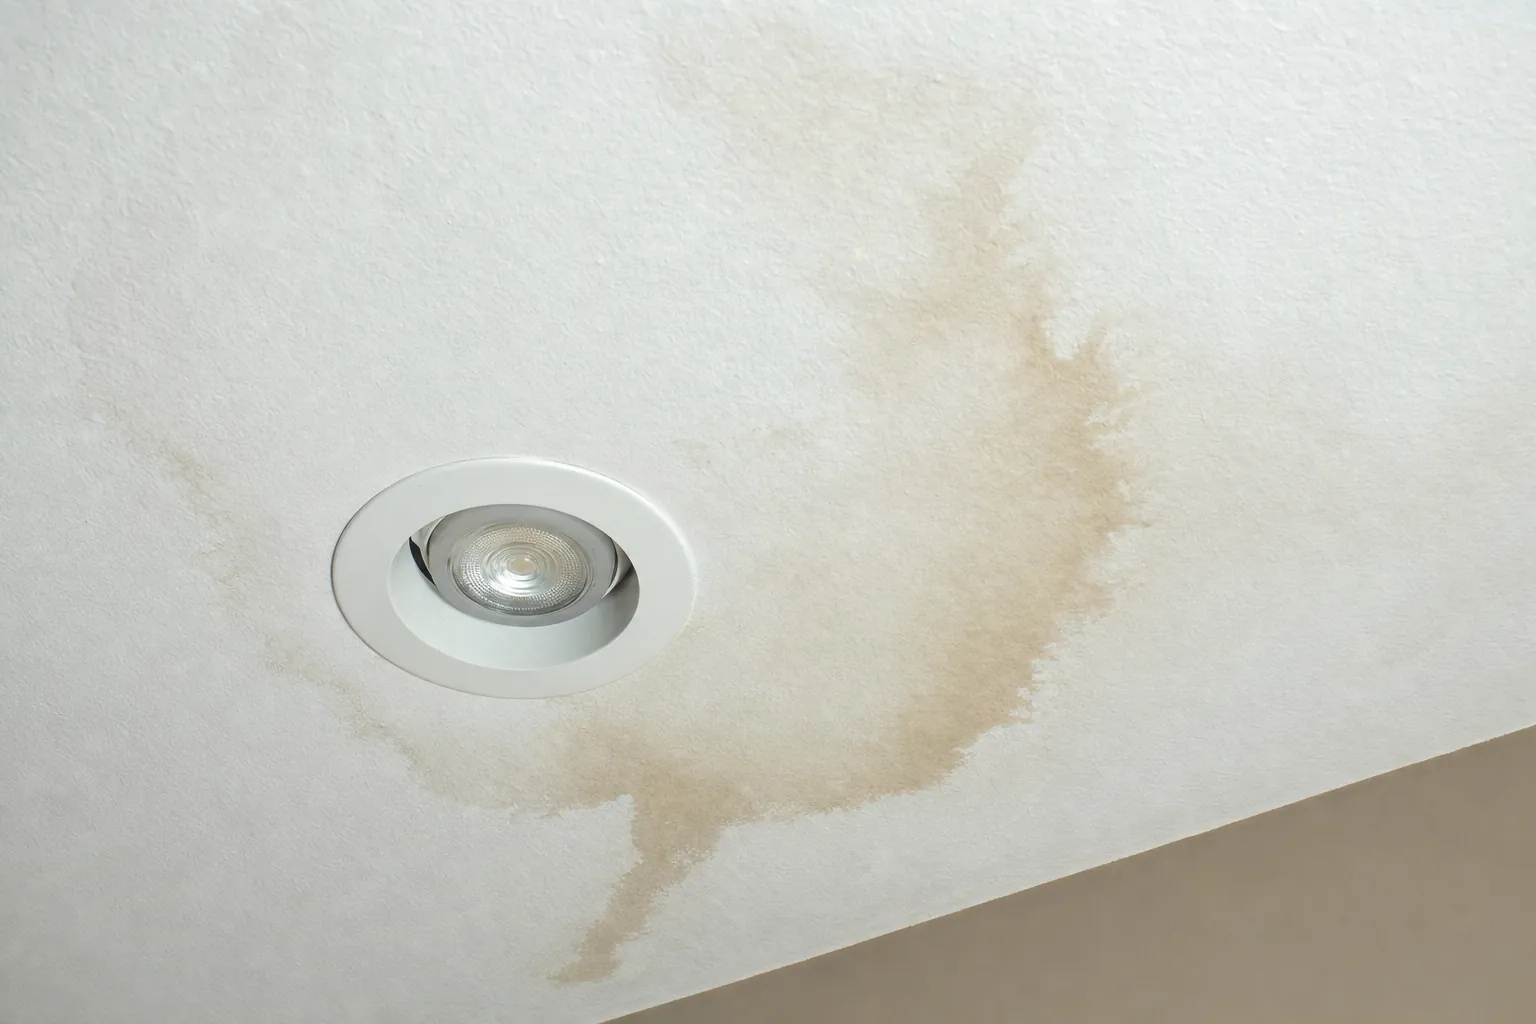
Call emergency services if there is an immediate danger. For a plumbing failure, contact a qualified plumber to stop the source. For a roof leak after a storm, avoid climbing onto a wet roof or entering an unsafe attic. The first goal is preventing more water from entering, not opening the ceiling.
2. Find and Stop the Source of Water
Ceiling damage is often caused by a leaking supply line, drain, appliance, bathroom fixture, roof penetration, backed-up gutter, or a problem in the room above. The visible stain is not always directly below the source because water can travel along framing, wiring, or the back of drywall before it finds a low spot.
Look for the most likely source from a safe position. If a bathroom is above the room, ask whether the stain changes after showers, flushing, or using a sink. If the stain appears after rain, inspect for roof or window problems from the ground and review the site’s roof-leak guidance. A fresh stain that keeps growing, active dripping, or water that returns after each use means the source is not yet controlled.
Do not rely on a temporary patch, bucket, or a fan to solve an active leak. Those measures can limit immediate mess, but the repair begins only once the cause has been corrected.
3. Document the Damage Before Cleanup
Take clear photos and short videos of the stain, dripping, damaged belongings, and the apparent source before you move or discard anything. Write down when you first noticed it, what was happening at the time, and every step taken to limit further damage. Keep receipts for reasonable emergency measures.
This record helps when speaking with an insurer, plumber, or restoration company. Coverage depends on the cause of the loss and the policy language, so avoid assuming that a ceiling stain will be covered or denied based on a general rule. The site’s water-damage insurance claim guide explains what to collect before that conversation.
Documentation also gives you a useful baseline. If a mark expands after the water is supposedly stopped, you have a clearer way to show that moisture may still be moving through the structure.
4. Decide Whether the Ceiling Is a Do-It-Yourself Repair
A small stain on a ceiling that is dry, firm, and stable can sometimes become a straightforward finish repair. The decision changes quickly when drywall is soft, bowed, bubbling, cracked, or pulling away from its fasteners. A ceiling that looks swollen may contain trapped water and can fail without much warning.
- A small, dry stain: The source has been fixed, the material feels solid, and there is no recurring moisture. It may be appropriate to dry, prime, and repaint after a careful check.
- Peeling paint or a small damaged area: The underlying drywall still needs to be dry and stable before damaged finish materials are scraped, patched, primed, and repainted.
- Sagging, soft, or cracked drywall: Stop treating it as a paint project. The material may need to be removed and replaced after the cavity is assessed and dried.
- Large, repeated, or contaminated water damage: Bring in qualified help. Water from a toilet overflow, sewage backup, or flood can require a different cleanup approach than a clean supply-line leak.
If you are unsure, a professional assessment is cheaper than closing up a damp cavity and discovering a larger problem later. The site’s service overview explains how extraction, drying, mold remediation, and repairs fit together after a water event.
5. Dry the Area Completely Before Repairing It
Drying is not the same as making a room feel less damp. Water can remain in drywall, insulation, framing, flooring, and adjacent walls after the visible surface looks better. Open windows only when outdoor conditions are drier than indoors, and use ventilation or dehumidification where it is safe and appropriate. Avoid directing a fan at a ceiling that is visibly unstable.
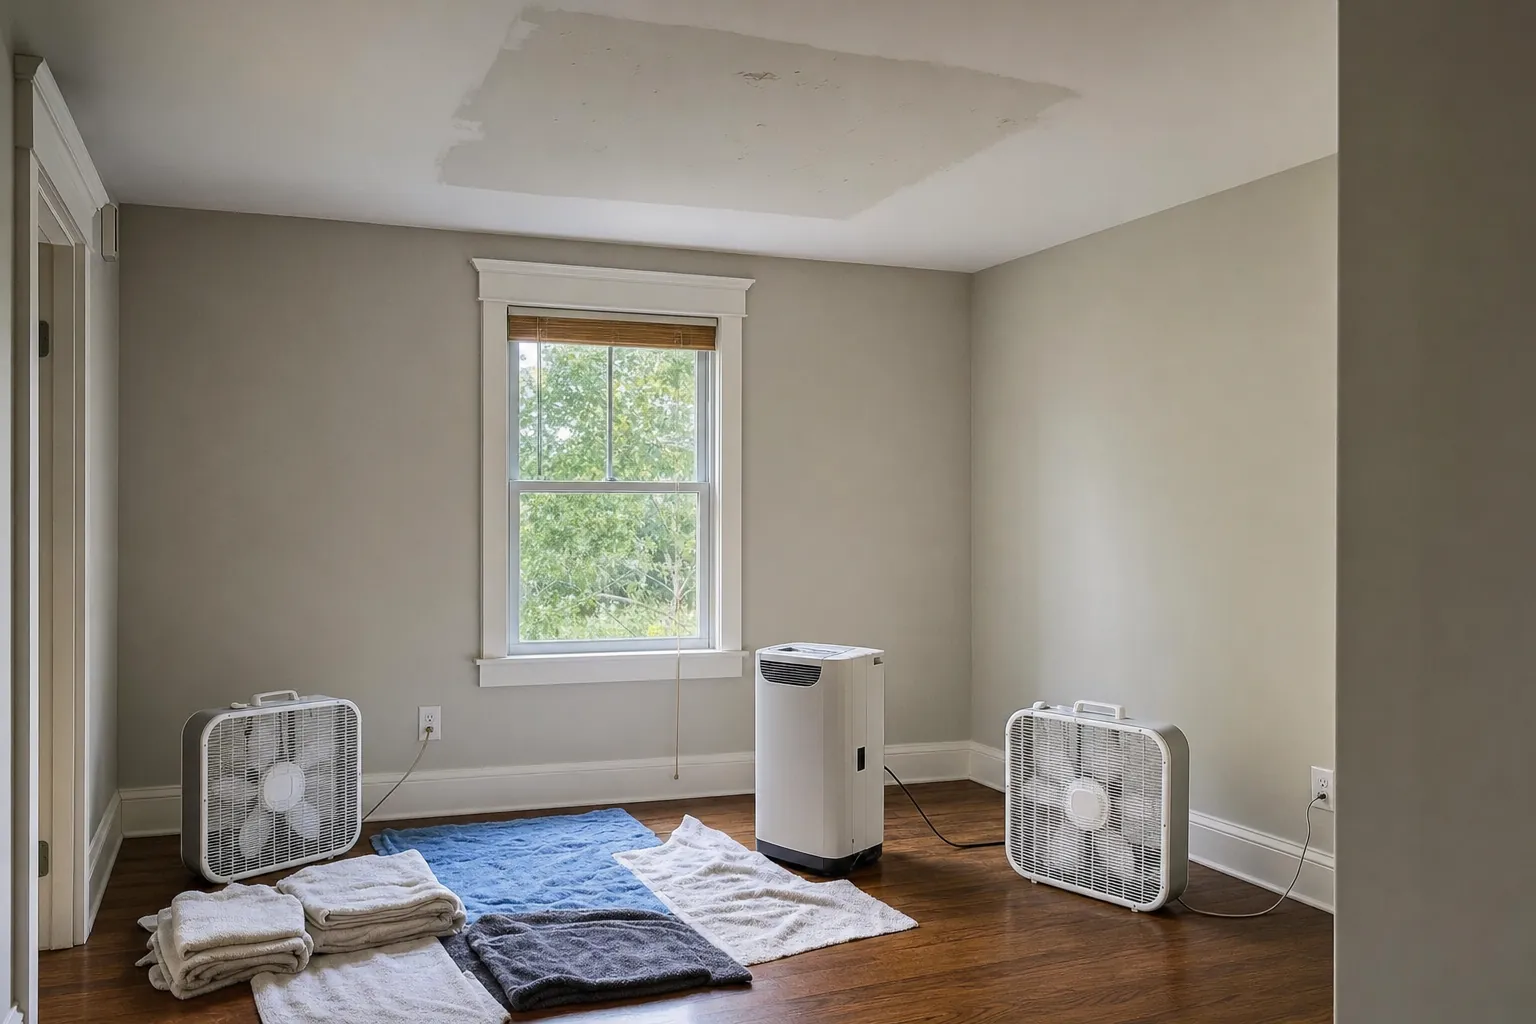
The U.S. Environmental Protection Agency recommends drying water-damaged areas and items within 24 to 48 hours to help prevent mold growth. Its mold and moisture guide also emphasizes that moisture control is the key to preventing indoor mold problems. If the area cannot be dried promptly, or if you see or smell mold, it is time to reassess the scope.
Do not cut into a ceiling just to “let it breathe” unless you understand what may be above it. Electrical wiring, insulation, pipes, contaminated water, and structural issues can all change the risk. A restoration professional can use moisture-detection tools to evaluate what is happening beyond the surface.
6. Repair Only After the Cause and Moisture Are Resolved
Once the source is fixed and the materials are confirmed dry, the cosmetic steps become more predictable. Remove loose paint or damaged texture. If drywall has lost its shape or strength, replace the affected section rather than covering it with compound. Match new drywall to the existing thickness, secure it correctly, tape and finish the seams, then allow the compound to dry before sanding.
For a stain that did not damage the board, clean the surface, allow it to dry, and use a stain-blocking primer before applying ceiling paint. Ordinary paint can allow a brown or yellow water mark to bleed back through. Test a small area first, especially if the ceiling has texture or an older finish.
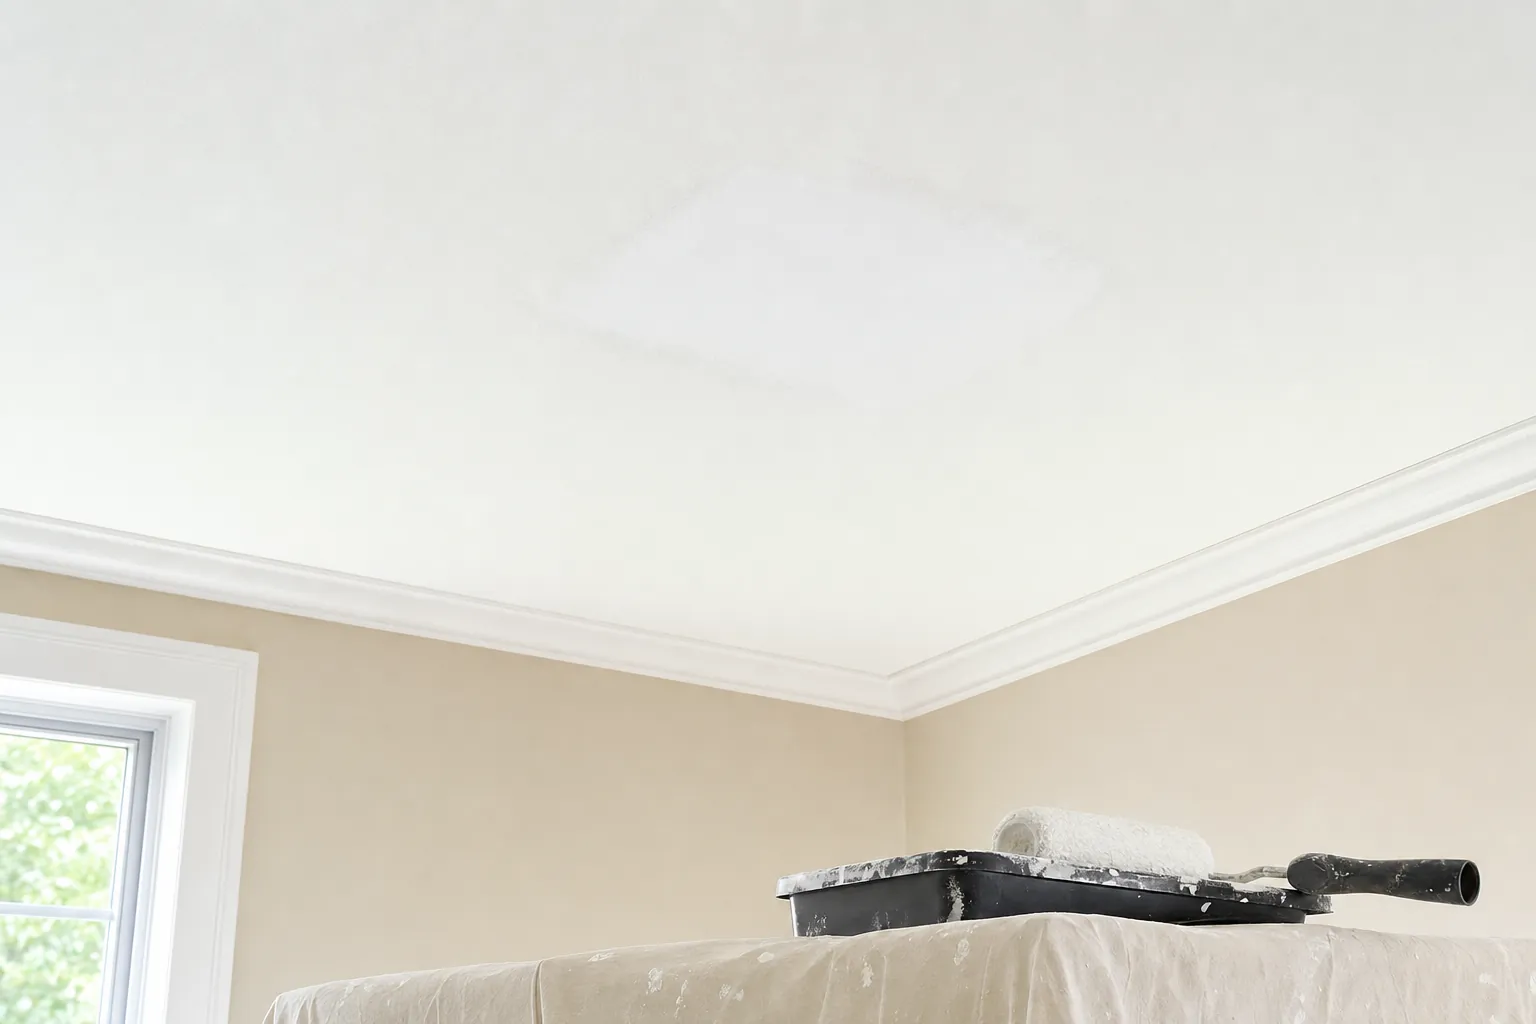
Take extra care with textured ceilings in older homes. Some materials can require testing before disturbance. When the patch is wider than a small isolated area, the texture is difficult to match, or there is any doubt about the materials, bring in a qualified contractor instead of escalating a cosmetic repair into a larger mess.
7. Avoid Shortcuts That Hide the Problem
A ceiling repair can look finished long before the underlying conditions are actually resolved. The most common mistake is painting over a stain while the roof leak, plumbing leak, or trapped moisture is still active. The stain may disappear for a while, but water can continue to move behind the surface and show up somewhere else.
Another tempting shortcut is drilling or cutting into a swollen ceiling to release water. That can make an already unstable ceiling fail, expose electrical wiring, or spread contaminated material. A bucket under a drip can protect the floor temporarily, but it is not a reason to stand beneath a bulge or press on a water-filled area.
Be cautious about using household fans as a catch-all solution. Fans are useful only after the source is controlled and the ceiling is stable. They do not prove that the space above the drywall is dry. A good repair plan accounts for insulation, framing, nearby walls, and the areas where water may have traveled before it reached the visible stain.
Finally, do not treat a musty smell as something that will disappear with paint or fragrance. It can be a clue that moisture remains. The right response is to investigate the water source and affected materials, not to cover the symptom.
8. Check the Repair Before Moving On
Before considering the job complete, check that the original source has been repaired and that the stain is not getting larger after normal use of the room above or after the next rain. Look across the ceiling in daylight for uneven texture, bubbling paint, a soft edge around the repair, or a new ring forming around the old mark.
Keep the initial photos for a few weeks. They make it easier to compare the area if a mark returns. If the same location becomes damp again, treat that as evidence that either the source or the drying plan needs more attention.
For a repair involving a plumbing fixture, ask the plumber what failed and whether any nearby connection should be monitored. For a roof-related leak, note the weather conditions that caused it and inspect gutters, flashing, and roof penetrations once conditions are safe. A small amount of follow-through helps turn a one-time repair into a more durable solution.
When in doubt, ask for the work scope in plain language. You should understand which materials are dry, which ones need replacement, what will be monitored, and what would cause the price or timeline to change. That level of clarity is useful whether you repair a small ceiling stain yourself or hire help for a larger loss.
9. Watch for Mold and Hidden Moisture
A musty smell, a recurring stain, peeling paint, or a ceiling that stays cool and damp can all point to moisture that has not been resolved. The Centers for Disease Control and Prevention notes that mold can grow where moisture is present, including around roof, window, and pipe leaks. The CDC also advises fixing the moisture problem as part of cleanup.
Visible growth is not the only reason to take a problem seriously. A leak that repeatedly wets insulation or framing may create conditions you cannot see from the room below. For more context on moisture-related concerns, see the site’s mold-remediation guide and common signs of water damage.
10. Know When to Call a Professional
Call for qualified help when the ceiling is sagging, actively leaking, near electrical equipment, softened over a large area, or damaged by wastewater or flooding. The same applies when the leak source is unclear, the problem has happened more than once, or you cannot confirm the area is dry. A professional can identify the source, assess affected materials, remove water where needed, dry the structure, and explain which repairs are actually necessary.
Before hiring, ask about licensing, insurance, the proposed scope of work, how moisture will be evaluated, what could change the price, and what happens if additional damage is found. A clear explanation helps you compare options without making decisions under pressure. US Water Damage Pros offers a practical process for evaluating the next step and a way to request assistance when you need help sorting through the situation.
Frequently asked questions
Can I paint over a water stain on the ceiling?
Only after the source is fixed and the ceiling is fully dry. Paint alone does not solve trapped moisture or damaged drywall. Once the area is stable, a stain-blocking primer can help prevent discoloration from showing through the finish coat.
How do I know if a water-damaged ceiling needs to be replaced?
Sagging drywall, soft or crumbly material, repeated wetting, active leaking, visible mold, or a stain spreading over a large area all call for a closer assessment. A small, dry, stable stain is very different from a ceiling that is losing its shape or holding water.
How long should I let a wet ceiling dry before repairing it?
There is no dependable clock for every home. The material, amount of water, ventilation, humidity, and whether moisture is trapped above the ceiling all matter. Repair should wait until the source is fixed and the affected materials are confirmed dry.
What should I do if water is dripping near a light fixture?
Keep away from the area and do not touch the fixture, switch, or wet ceiling. If it is safe to do so, turn off power to the affected area at the breaker. Contact emergency help if there is an immediate danger, and arrange qualified electrical or restoration help before attempting cleanup.